

Embedded Systems Design
During the first years of my career I have focused mostly in software development projects, keeping my hardware skills in the back burner. However, as the world turns and the industry shifts from personal computers to mobile devices, edge computing and Internet-of-Things (IoT); Embedded Systems Design is rapidly moving into the front seat of my career path.In recent years I have been focusing in strengthening my hardware skills to match my software skills. This has been a collective effort of returning to school, attending professional seminars, grinding through white papers in PCB design and Signal Integrity, and leave-taking a sabbatical to do research in embedded systems. This has given me ample time to get hands-on experience in the design and prototyping of real hardware projects while also learning about new and cutting-edge technologies trending in today's industry.
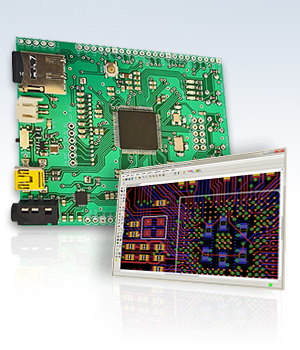
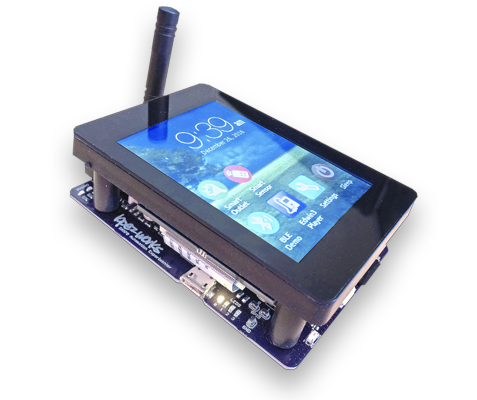
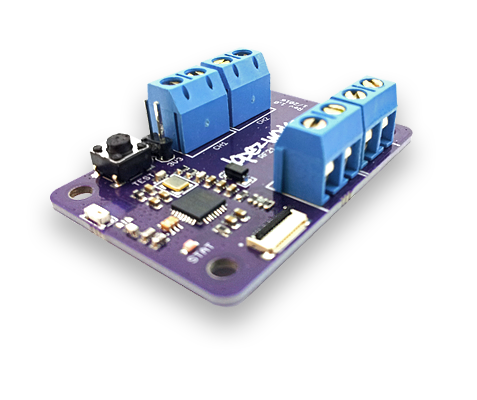
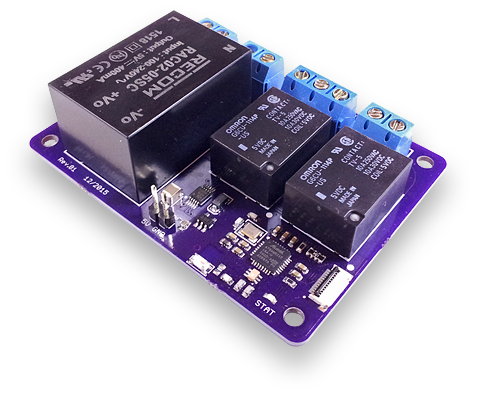
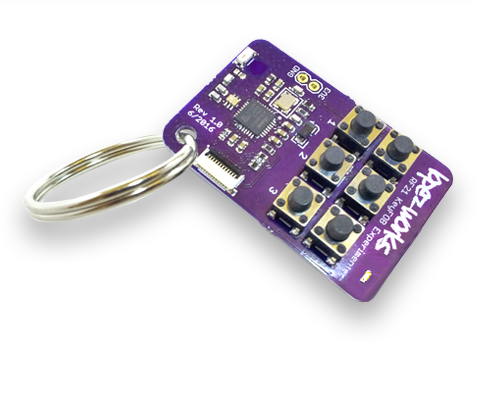
Below are some of the projects I completed during my research sabbatical; a mixed display of skills that include Embedded Hardware Design, Firmware Development, and both Machine-to-Machine (M2M) and Human-Machine-Interface (HMI) designs.
 Project Gallery:
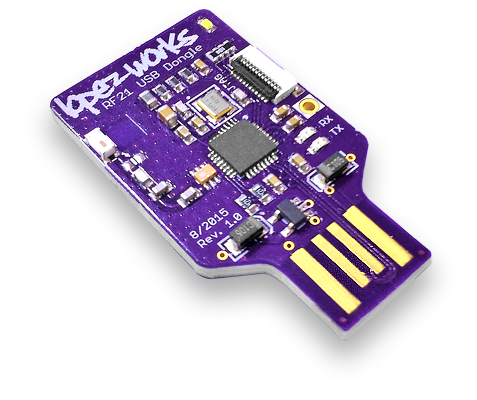


 Project Gallery:
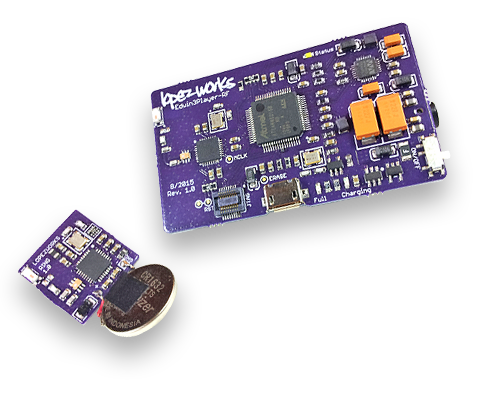


")
 Project Gallery:
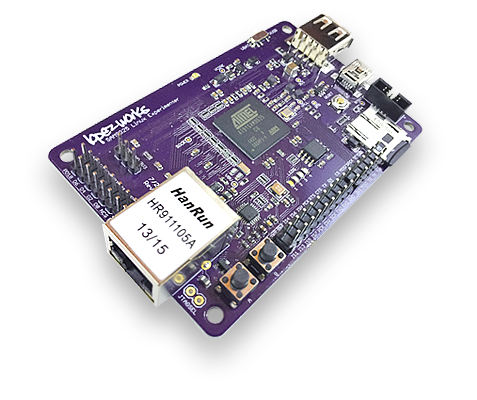


")
")
 Project Gallery:
")
")


 Project Gallery:


")
")


 Project Gallery:
")
")
")
")
 Features")
 Project Gallery:
")
")


")
")

 Project Gallery:


")


 Project Gallery:


